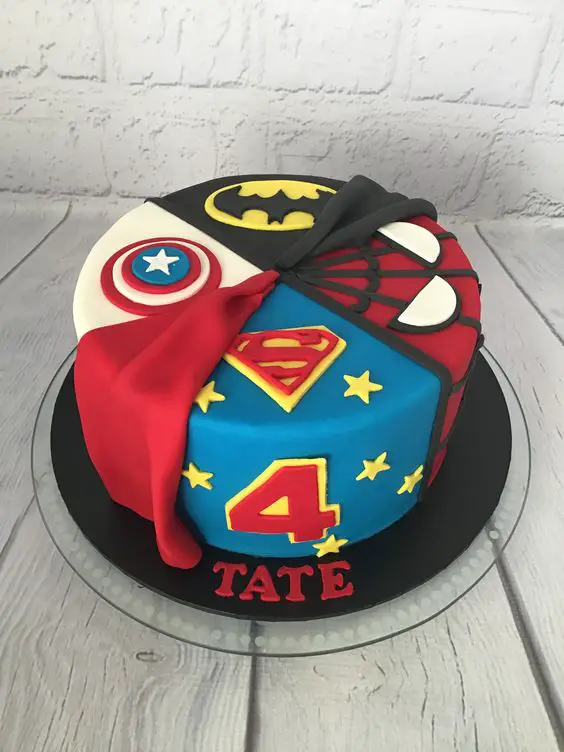
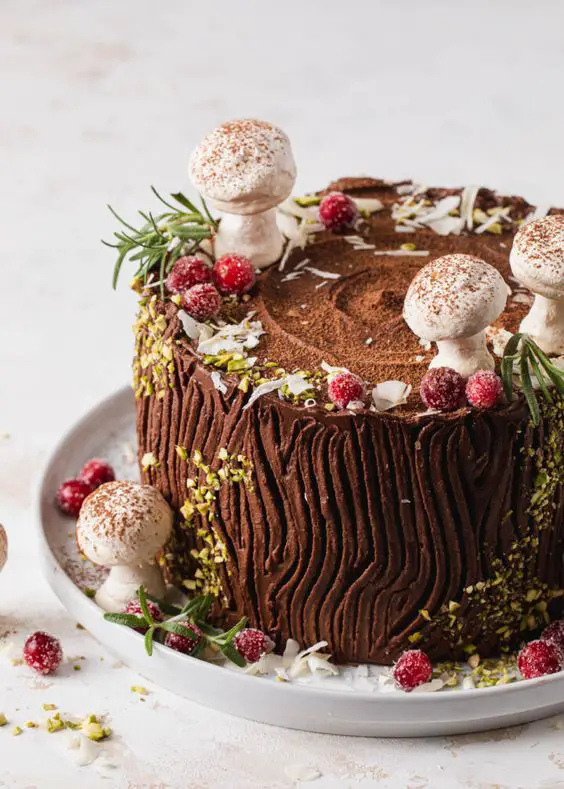
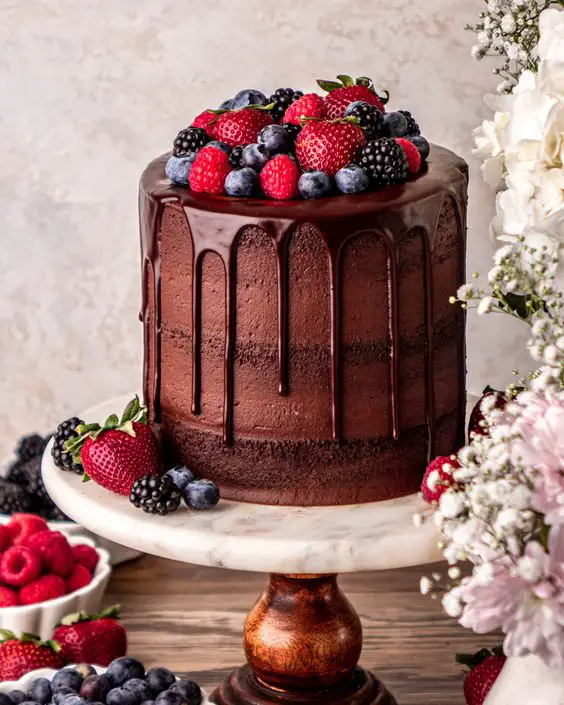
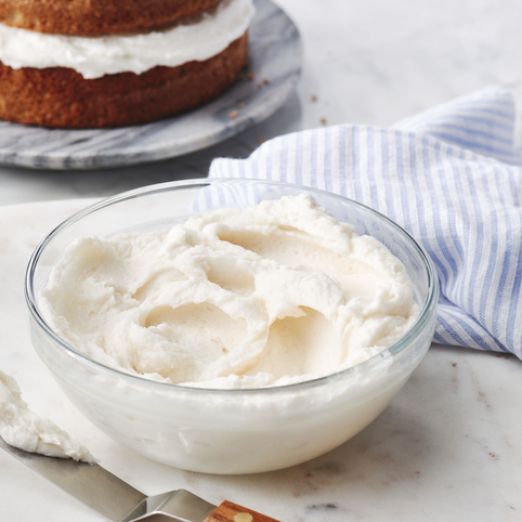
I chose to make a birthday cake by hand for someone I love—not because I’m particularly skilled, but because I wanted to give them something truly heartfelt. From the moment I started preparing the ingredients, my mind was filled with thoughts: Will they like this flavor? Will that frosting color make them smile? Quietly, I considered every small detail, knowing that this was how I could express my love—more deeply than words sometimes allow.
Every step—whisking eggs, sifting flour, watching the cake rise—felt like I was piecing together little fragments of care, of affection, and of quiet hope, all wrapped into one sweet surprise. When the warm scent of freshly baked cake filled the kitchen, my heart softened. Perhaps this is what happiness smells like—the kind that comes from doing something simple, with love.
I decorated the cake with all the anticipation in the world, carefully writing out my wishes. And when they walked in and saw the cake—their eyes lighting up, a surprised smile breaking across their face—every bit of effort and nervousness disappeared. I realized I hadn’t just baked a cake. I had created a moment.
What I received from them wasn’t just a thank-you or a warm hug. I saw it in their eyes—a deep sense of appreciation, connection, and love. Through this small gesture, I felt something big: the joy of being truly close to someone, of doing something that speaks directly from one heart to another. And maybe, nothing makes me happier than seeing the people I love smile because of something made with my own two hands.
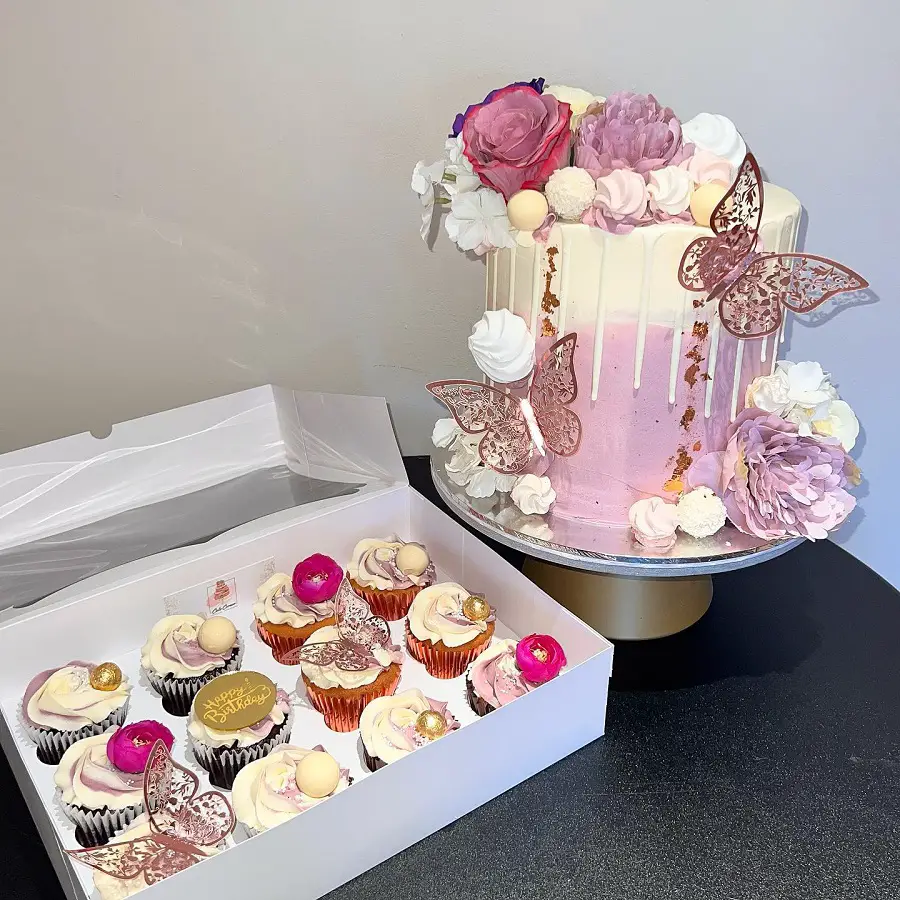
How to Make a Birthday Cake – Step-by-Step Guide
1. Preparation — Getting Ready Before Baking
Thorough preparation will help your baking process go smoothly, reduce mistakes, and save time. You should prepare in three groups: Ingredients, Tools, and Workspace & Mindset.
1.1. Ingredients
1.1.1. Ingredients for the cake base (sponge cake):
- 4 large eggs (preferably at room temperature, about 60–65g each)
- 100g sugar (fine granulated sugar)
- 100g cake flour (or all-purpose flour sifted well)
- 30ml fresh milk (room temperature, unsweetened)
- 30ml cooking oil (light flavor, such as sunflower or corn oil)
- ½ teaspoon vanilla extract (liquid or vanilla powder)
- ½ teaspoon lemon juice or cream of tartar (if whipping egg whites separately)
- A pinch of salt (to balance sweetness)
1.1.2. Ingredients for frosting and decoration:
- 250ml whipping cream (30–35% fat)
- 30–50g powdered sugar (adjust sweetness to taste; powder it finely to avoid graininess when whipping)
- Fresh fruits: strawberries, kiwi, blueberries, grapes… (for decorating the cake)
- Decorative candies, chocolate chips, sprinkles (optional)
- Birthday candles, “Happy Birthday” sign, cake toppers (if available)
1.1.3. Notes:
- All ingredients (except whipping cream) should be at room temperature before use.
- If baking for children, try to limit or use natural food coloring.
1.2. Baking Tools
1.2.1. Essential:
- Oven (preferably with fan for even heat) or air fryer with baking function
- Electric mixer (handheld or stand mixer)
- Spatula (for folding batter and scraping cream)
- Flour sifter
- Round cake pan, 18–20cm diameter
- Parchment paper or butter/oil for greasing the pan
1.2.2. Recommended:
- Cake turntable for decorating
- Serrated cake knife
- Measuring spoons or digital kitchen scale (for accuracy)
- Piping bags and decorating tips for fancy frosting designs
1.3. Workspace & Mindset
- Clean and tidy your kitchen space: make sure there’s enough room to work comfortably.
- Prepare towels and paper towels for quick cleanup of spills.
- Prepare a calm and patient mindset: Baking is a journey of patience and love. Don’t worry if your cake isn’t perfect the first time.
2. Make the Sponge Cake Base
Making a light, fluffy sponge cake base is the foundation for a delicious birthday cake. Follow these detailed steps carefully to get the best results.
2.1. Ingredients:
- 4 large eggs (separated into whites and yolks, room temperature)
- 100g granulated sugar (divided into two portions)
- 100g cake flour (sifted)
- 30ml fresh milk (room temperature)
- 30ml vegetable oil (light flavor)
- ½ teaspoon vanilla extract
- ½ teaspoon lemon juice or cream of tartar (optional, helps stabilize egg whites)
- A pinch of salt
2.2. Equipment:
- Electric mixer or stand mixer
- Mixing bowls (one large for whites, one medium for yolks)
- Spatula (rubber or silicone)
- Sifter or fine sieve
- Cake pan (prepared and greased)
- Oven preheated to 150–160°C (300–320°F)
2.3. Instructions:
Step 1: Prepare your workspace and preheat oven
- Preheat the oven to 150–160°C (300–320°F).
- Line the bottom of your cake pan with parchment paper.
- Lightly grease the sides of the pan with butter or oil.
Step 2: Separate the eggs carefully
- Crack each egg and separate the yolk from the white, placing whites in a large clean bowl and yolks in a separate bowl.
- Make sure no yolk gets into the whites to ensure they whip properly.
Step 3: Whip the egg whites
- Add ½ teaspoon lemon juice or cream of tartar and a pinch of salt to the egg whites (optional but recommended for stability).
- Using an electric mixer, beat the egg whites on medium speed until foamy.
- Gradually add half of the sugar (about 50g) while continuing to beat.
- Increase speed to high and whip until stiff peaks form. The peaks should stand straight when the beaters are lifted and not fall over.
- Be careful not to overbeat as this can cause the whites to dry out and collapse.
Step 4: Mix the egg yolks and wet ingredients
- In the bowl with the yolks, add the remaining sugar and beat until the mixture becomes pale and slightly thickened.
- Add the vegetable oil, milk, and vanilla extract. Mix well until fully combined.
Step 5: Sift and fold in the flour
- Sift the cake flour over the yolk mixture to avoid lumps.
- Gently fold the flour into the yolk mixture using a spatula. Use a light folding motion to preserve airiness.
Step 6: Combine the yolk mixture and egg whites
- Take about one-third of the whipped egg whites and fold it into the yolk mixture gently to lighten it.
- Then, carefully fold in the remaining egg whites in two additions, folding softly but thoroughly to avoid deflating the batter.
Step 7: Pour batter into the pan
- Pour the batter into the prepared cake pan.
- Lightly tap the pan on the countertop a few times to release large air bubbles.
Step 8: Bake the cake
- Place the pan in the preheated oven.
- Bake for about 40–50 minutes, or until a toothpick inserted into the center comes out clean.
- Avoid opening the oven door in the first 30 minutes to prevent the cake from collapsing.
Step 9: Cool the cake
- Once baked, remove the cake from the oven and let it cool in the pan for 10 minutes.
- Then carefully remove the cake from the pan and transfer it onto a wire rack to cool completely before frosting.
2.4. Tips:
- Always use room temperature eggs for better volume.
- Be gentle when folding to keep the batter airy and light.
- Use a clean, grease-free bowl for whipping egg whites.
- Avoid overmixing flour to keep the cake tender.
- If your oven runs hot, reduce the temperature slightly to avoid cracking.
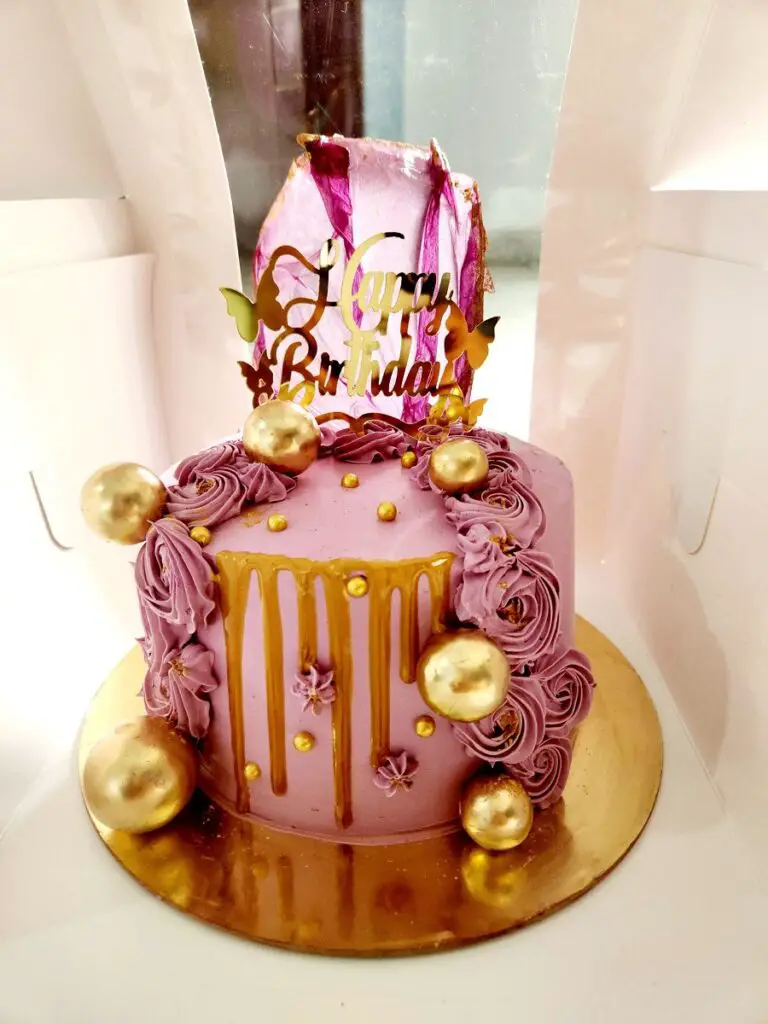
3. Whip the Cream
Whipping cream to the perfect consistency is essential for creating smooth, stable frosting that looks beautiful and tastes delicious. Follow these detailed instructions to get light, fluffy, and stable whipped cream.
3.1. Ingredients:
- 250ml cold whipping cream (30–35% fat)
- 30–50g powdered sugar (adjust sweetness to taste)
- ½ teaspoon vanilla extract (optional, for flavor)
3.2. Equipment:
- Electric mixer (handheld or stand mixer)
- Mixing bowl (preferably metal or glass, chilled)
- Spatula
- Measuring spoons
- Powdered sugar sieve (optional)
3.3. Instructions:
Step 1: Chill everything
- Place the mixing bowl and beaters/whisk attachments in the refrigerator or freezer for at least 15–20 minutes before whipping. Cold equipment helps the cream whip faster and hold its shape better.
- Keep the whipping cream in the fridge until just before use.
Step 2: Pour the cream into the chilled bowl
- Pour the cold whipping cream into the chilled mixing bowl.
- Add vanilla extract if using.
Step 3: Start whipping the cream
- Using an electric mixer, start whipping the cream at low speed to prevent splashing.
- After about 30 seconds, increase to medium speed.
Step 4: Add powdered sugar gradually
- When the cream starts to thicken and form soft peaks (the cream will begin to hold its shape but still be quite soft), gradually add the powdered sugar in small amounts while continuing to whip.
- This will sweeten the cream and stabilize it.
Step 5: Whip to soft peaks, then stiff peaks
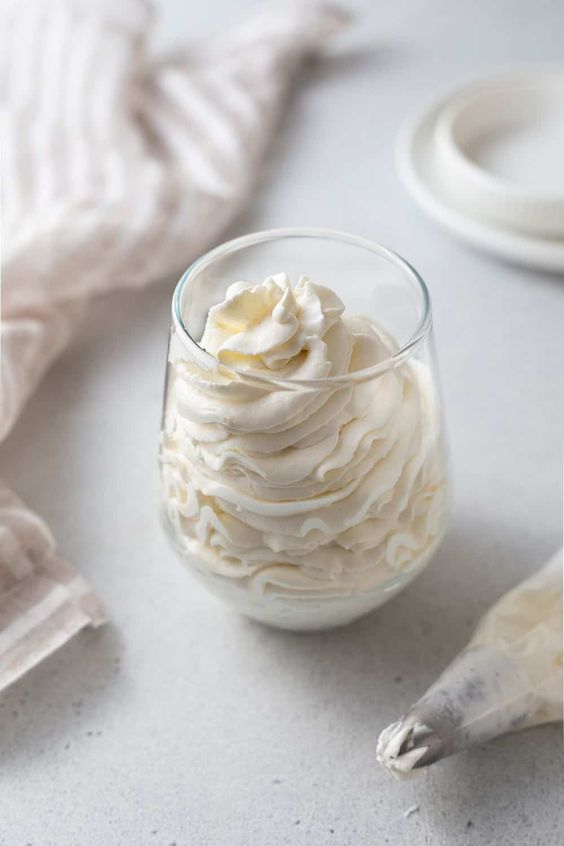
- Continue whipping until the cream forms soft peaks (when you lift the whisk, the peaks gently fold over).
- Then whip a little longer until stiff peaks form (peaks stand straight up when you lift the whisk without falling).
- Be careful not to overwhip. If whipped too long, the cream will become grainy and start turning into butter.
Step 6: Check consistency
- The whipped cream should be smooth, fluffy, and hold its shape firmly.
- If it’s too soft, it won’t hold decorations well.
- If it’s too stiff, it might become dry and hard to spread.
Step 7: Use immediately or store properly
- Use the whipped cream immediately to frost the cake.
- If you need to store it, keep it covered and refrigerated, but try to use within a few hours for best texture.
3.4. Tips:
- Use heavy whipping cream with at least 30% fat for best results.
- Sift powdered sugar to avoid lumps.
- Add flavorings like vanilla or a splash of liquor (e.g., rum) for extra aroma.
- If your kitchen is warm, chill the bowl and cream well to help the cream whip properly.
- To stabilize whipped cream for longer-lasting frosting, you can add a small amount of gelatin or a commercial stabilizer (optional).
4. Decorate the Cake
Decorating your birthday cake is your chance to make it visually stunning and extra special. Take your time and enjoy the process — every detail counts!
4.1. Materials & Tools Needed:
- Whipped cream frosting (from Step 3)
- Fresh fruits (strawberries, kiwi, blueberries, raspberries, etc.)
- Edible flowers (optional)
- Sprinkles, chocolate chips, nuts, or candy decorations
- Piping bags (disposable or reusable)
- Decorating tips/nozzles (various shapes: round, star, leaf, etc.)
- Offset spatula or butter knife
- Bench scraper or cake scraper (for smoothing sides)
- Cake turntable (highly recommended for easier decorating)
- Serrated knife (for leveling cake layers)
- Cake board or serving plate
- Toothpicks or small brushes (for delicate decorating)
4.2. Step-by-Step Instructions:
Step 1: Level Your Cake Layers
- After your sponge cake is fully cooled, use a serrated knife or cake leveler to trim off any domed or uneven tops.
- This will ensure your cake layers stack evenly and your finished cake is stable and smooth.
Step 2: Assemble the Cake Layers
- Place the first cake layer flat on your cake board or serving plate.
- If you like, brush the cake lightly with a flavored syrup (vanilla, coffee, or fruit syrup) to keep it moist.
- Spread an even layer of whipped cream or your chosen filling (fruit jam, custard, or chocolate ganache) on top using an offset spatula.
- Add sliced fresh fruit if desired for extra flavor and texture.
- Carefully place the next cake layer on top and repeat the filling process if you have more layers.
Step 3: Apply the Crumb Coat (Thin Base Layer of Frosting)
- Spread a thin, even layer of whipped cream all over the cake to trap any loose crumbs.
- Don’t worry about making it perfect — this layer acts like a “seal” for the final frosting.
- Chill the cake in the refrigerator for about 20–30 minutes to let the crumb coat set. This makes final frosting easier and cleaner.
Step 4: Final Frosting Layer
- Remove the cake from the fridge.
- Spread a generous, even layer of whipped cream over the top and sides of the cake using an offset spatula.
- Use a bench scraper or cake scraper to smooth the sides and create a clean, professional look. Hold the scraper steady while rotating the cake on the turntable.
- Smooth the top by lightly dragging the spatula from the edges toward the center.
- If needed, dip your spatula in hot water, dry it, then use it to smooth frosting — the warmth helps create a sleek finish.
Step 5: Decorate with Piping (Optional but Beautiful!)
- Fill piping bags fitted with different decorating tips with whipped cream.
- Practice piping simple shapes on parchment paper first.
- Create borders around the base and top edges of the cake using stars, rosettes, or shells.
- Pipe flowers, leaves, or swirls according to your design preference.
- Use contrasting tips (star, round, petal) to add variety and texture.
Step 6: Add Fresh Fruit and Other Decorations
- Arrange fresh fruit on top in beautiful patterns — circular, clustered, or evenly spaced.
- Use edible flowers or sprinkle decorative toppings (chocolate chips, crushed nuts, sprinkles) for extra flair.
- Use toothpicks or small brushes to carefully position delicate decorations.
- Add a birthday message using piped cream or edible writing pens.
- Place candles and cake toppers last to avoid disturbing decorations.
Step 7: Final Chill and Serve
- Refrigerate the decorated cake for at least 30 minutes to allow the frosting to set firmly.
- Keep the cake covered loosely with a cake dome or plastic wrap to prevent drying.
- Serve the cake chilled or at room temperature based on your preference.
4.3. Pro Tips:
- Work in a cool kitchen to prevent whipped cream from melting while decorating.
- Keep unused whipped cream refrigerated and only whip a little extra if needed.
- If you want to store the cake longer, consider stabilizing your whipped cream with gelatin or a commercial stabilizer.
- Have fun and don’t stress — minor imperfections add character and show your personal touch!
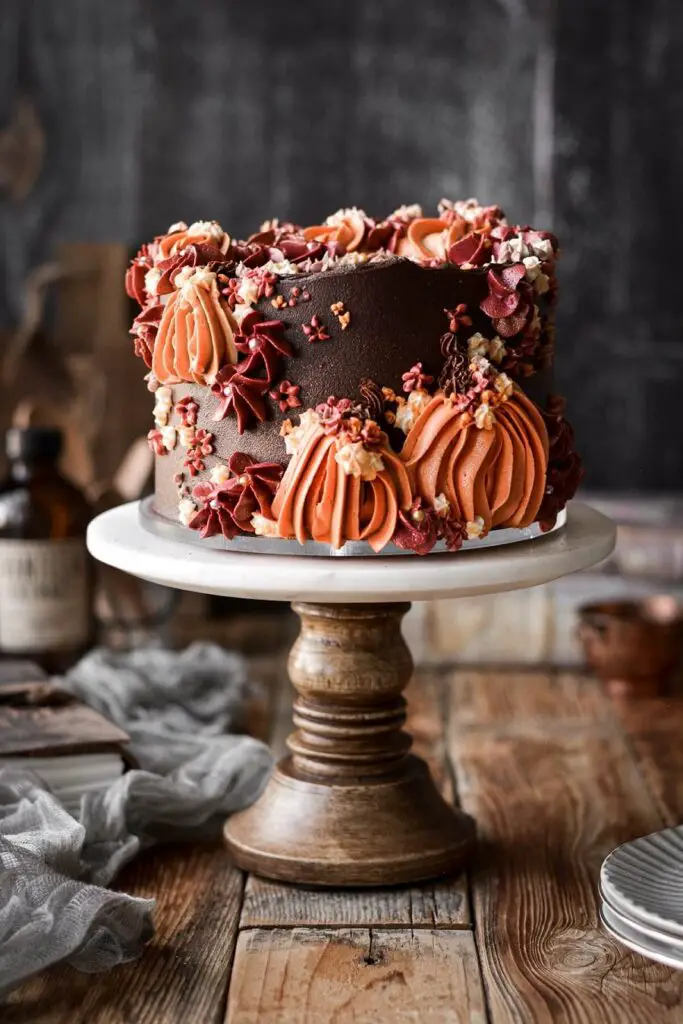
5. Finishing Touch — Final Steps to Perfect Your Birthday Cake
The finishing touches are what truly make your cake stand out and look professionally made. This step includes adding decorations, details, and preparing your cake for presentation and serving.
5.1. Materials & Tools You Might Need:
- Cake toppers (Happy Birthday signs, numbers, figurines)
- Birthday candles (various styles and sizes)
- Edible glitter or dust (optional for sparkle)
- Extra decorations (sprinkles, nuts, chocolate shavings)
- Small brush (for edible dust/glitter)
- Clean, sharp knife (for cutting)
- Serving plate or cake stand
- Cake dome or cover for storage
5.2. Step-by-Step Instructions:
Step 1: Add Decorative Cake Toppers & Candles
- Choose your cake toppers: birthday signs, themed figurines, or custom messages.
- Insert birthday candles carefully in even spacing on the cake top.
- For tall or delicate candles, secure them gently so they stand upright.
- Place toppers thoughtfully to enhance your cake’s theme and design.
Step 2: Apply Edible Glitter or Dust (Optional)
- Using a small, clean brush, lightly dust edible glitter or shimmer powder over the cake’s frosting or decorations.
- This adds a magical sparkle, especially for special celebrations.
- Be careful not to overdo it — a light touch is elegant and tasteful.
Step 3: Add Extra Decoration Details
- Sprinkle nuts, chocolate shavings, or colorful sprinkles around the edges or on the top.
- Arrange fresh mint leaves or edible flowers for a natural, fresh look.
- Use contrasting colors and textures to make the cake visually appealing.
Step 4: Final Presentation Setup
- Transfer your cake carefully to a beautiful serving plate or cake stand.
- Clean the edges of the plate or stand for a neat appearance.
- Cover the cake with a cake dome or wrap lightly with plastic wrap if not serving immediately.
- Keep the cake refrigerated until it’s time to serve.
Step 5: Serving the Cake
- Use a clean, sharp serrated knife for cutting.
- For smooth slices, dip the knife in hot water, wipe dry, and cut slowly.
- Serve slices on dessert plates with forks or dessert spoons.
- Compliment with beverages like tea, coffee, or a refreshing drink.
5.3. Additional Tips:
- If transporting the cake, keep it stable in a cool box or carrier to prevent damage.
- Consider the birthday person’s favorite colors or themes when choosing decorations.
- Take photos before cutting to capture your beautiful creation!
- Enjoy the moment — your handmade cake is a heartfelt gift full of love.
Common Issues When Making a Birthday Cake (and How to Fix Them)
1. Cake sinks or collapses:
A cake sinking or collapsing after baking is one of the most common baking issues. Understanding why this happens and how to fix it can help you bake a perfect, fluffy cake every time.
1.1. Why Does Cake Sink or Collapse?
1.1.1. Underbaking
- The cake’s center hasn’t fully set before you remove it from the oven. The batter is still too wet and soft, so it falls when cooling.
1.1.2. Oven Temperature Too Low or Fluctuating
- If the oven is not hot enough, the cake won’t rise properly and set.
- Opening the oven door too early or often causes temperature drops, leading to collapse.
1.1.3. Overmixing the Batter
- Mixing too vigorously or for too long breaks down the air bubbles in the batter, reducing its ability to rise and hold structure.
1.1.4. Too Much Leavening Agent (Baking Powder or Baking Soda)
- Excess leavening causes the cake to rise rapidly and then collapse as the gas escapes quickly.
1.1.5. Too Much Liquid or Fat
- Adding too much milk, oil, or other liquids weakens the batter’s structure, causing sinking.
1.1.6. Incorrect Measuring of Ingredients
- Not measuring flour or liquids properly can throw off the batter balance.
1.1.7. Rapid Cooling
- Cooling the cake too quickly, like placing it in a cold environment or fridge right after baking, can cause the structure to shrink and sink.
1.2. How to Fix or Prevent Cake Sinking
1.2.1. Bake Thoroughly
- Test doneness by inserting a toothpick or skewer into the center of the cake. It should come out clean or with just a few moist crumbs (not wet batter).
- If the cake is not done, bake a little longer and check every 3–5 minutes.
1.2.2. Maintain Proper Oven Temperature
- Preheat the oven fully before baking.
- Use an oven thermometer to verify accuracy.
- Avoid opening the oven door during the first 30 minutes of baking.
1.2.3. Mix Batter Gently and Correctly
- Follow recipe mixing times carefully.
- Use gentle folding motions when combining flour or egg whites to keep air bubbles intact.
- Avoid overmixing once flour is added.
1.2.4. Measure Ingredients Accurately
- Use a digital kitchen scale for precise measurements.
- Spoon flour into the measuring cup and level with a knife (don’t scoop directly).
- Use proper liquid measuring tools.
1.2.5. Use Correct Amount of Leavening
- Follow the recipe exactly for baking powder/soda.
- Check that your leavening agents are fresh (not expired).
1.2.6. Control Liquids and Fats
- Stick to the recipe’s liquid and fat quantities.
- Avoid substituting with higher amounts unless you adjust other ingredients accordingly.
1.2.7. Cool Cake Properly
- Let the cake cool gradually in the pan on a wire rack for 10–15 minutes.
- Then remove it from the pan and cool completely at room temperature before frosting or refrigerating.
1.3. Extra Tips:
- If your cake recipe is prone to sinking, try adding a little extra flour (about 1–2 tablespoons) to strengthen structure.
- For heavier cakes, use cake flour or all-purpose flour rather than bread flour.
- Consider baking at a slightly lower temperature for longer to ensure even cooking.

2. Cake is Dense or Doesn’t Rise
A dense, heavy cake or one that fails to rise can be disappointing, especially when you’re aiming for a light and fluffy texture. Understanding the causes and solutions can help you bake a perfect airy cake.
2.1. Why Is the Cake Dense or Doesn’t Rise?
2.1.1. Insufficient Leavening Agent
- Not enough baking powder or baking soda means the cake doesn’t get enough gas bubbles to rise properly.
2.1.2. Expired or Ineffective Leavening Agents
- Old baking powder or baking soda loses potency, leading to poor rising.
2.1.3. Overmixing the Batter
- Overmixing can develop too much gluten in the flour, making the cake tough and dense. It also breaks down air bubbles needed for rising.
2.1.4. Too Much Flour or Heavy Ingredients
- Adding too much flour, or using heavy ingredients like whole wheat flour without adjustment, can weigh down the batter.
2.1.5. Incorrect Oven Temperature
- Oven too hot can cause the cake to rise too fast and then collapse, or oven too cool prevents rising altogether.
2.1.6. Using Cold Ingredients
- Ingredients (eggs, milk, butter) that are too cold don’t incorporate well, reducing the batter’s ability to trap air.
2.1.7. Not Enough Air Incorporated During Mixing
- Beating butter and sugar properly incorporates air which helps the cake rise. Skipping or rushing this step can cause density.
2.1.8. Too Much Liquid or Fat
- Excess moisture or fat can weigh down the cake and prevent proper rise.
2.2. How to Fix or Prevent a Dense Cake
2.2.1. Use Fresh and Correct Amount of Leavening Agents
- Check expiration dates and use fresh baking powder/soda.
- Measure carefully according to the recipe.
2.2.2. Avoid Overmixing
- Mix ingredients just until combined, especially after adding flour.
- Fold in dry ingredients gently to retain air bubbles.
2.2.3. Proper Ingredient Preparation
- Bring eggs, milk, and butter to room temperature before mixing.
- This helps ingredients blend well and trap air better.
2.2.4. Measure Flour Accurately
- Spoon flour into measuring cup and level off with a knife. Avoid scooping directly which packs the flour.
- Consider weighing flour for precision.
2.2.5. Cream Butter and Sugar Well
- Beat butter and sugar together until light and fluffy, usually 3-5 minutes.
- This step incorporates air critical for rise and texture.
2.2.6. Adjust Oven Temperature
- Preheat oven fully and bake at recommended temperature.
- Use an oven thermometer to check accuracy.
2.2.7. Use Proper Flour Type
- Use cake flour or all-purpose flour as specified by the recipe for a lighter texture.
- Avoid using bread flour or whole wheat unless recipe adjustments are made.
2.2.8. Balance Liquids and Fats
- Stick to recipe amounts to avoid overly wet or greasy batter that can weigh down the cake.
2.2.9. Don’t Skip Sifting
- Sift flour and other dry ingredients to break up lumps and aerate the flour.
2.3. Extra Tips:
- If you want an extra light cake, separate egg whites and whip them before folding into the batter gently.
- Baking at a slightly lower temperature for a longer time can sometimes improve rise and texture.
- For dense recipes, consider adding a small amount of baking powder (if appropriate) or using lighter liquids like milk instead of heavy creams.
3. Whipped Cream Splits or Doesn’t Thicken
Whipped cream is a delicate element that can sometimes split (curdle) or refuse to thicken, which can be frustrating when decorating cakes or preparing desserts. Understanding the causes and solutions will help you achieve perfectly whipped cream every time.
3.1. Why Does Whipped Cream Split or Fail to Thicken?
3.1.1. Cream Fat Content Too Low
Using cream with less than 30–35% fat (such as light cream) won’t whip properly and may not thicken.
3.1.2. Cream is Too Warm
Whipping cream at room temperature or warmer makes it difficult to trap air and hold structure.
3.1.3. Whipping Too Slowly or Too Fast
Starting at too low speed may not incorporate enough air.
Whipping too fast or too long can overwhip the cream, causing it to split into butter and liquid.
3.1.4. Using Dirty or Greasy Equipment
Residual fat or grease on bowls or beaters can prevent cream from whipping properly.
3.1.5. Adding Sugar or Flavorings Too Early
Adding sugar, vanilla, or other flavorings before cream starts to thicken can inhibit proper whipping.
3.1.6. Overwhipping the Cream
Whipping beyond the soft or stiff peak stage causes the fat molecules to clump together and separate, resulting in split cream (butter and whey).
3.2. How to Fix or Prevent Whipped Cream Splitting or Not Thickening
3.2.1. Use the Right Cream
- Use heavy cream or whipping cream with at least 30–35% fat content.
- Check the label to ensure it is suitable for whipping.
3.2.2. Chill Everything
- Chill the cream, mixing bowl, and beaters/whisk in the fridge or freezer for 15–30 minutes before whipping.
- Cold temperatures help the fat solidify and trap air better.
3.2.3. Whip at Medium-High Speed
- Start whipping at medium speed, then increase to medium-high once the cream starts to thicken.
- This helps incorporate air steadily and builds volume.
3.2.4. Add Sugar and Flavorings at the Right Time
- Wait until the cream has started to thicken (soft peaks form) before adding sugar or vanilla.
- Add powdered sugar for easier incorporation and smoother texture.
3.2.5. Watch the Cream Closely
- Stop whipping as soon as you reach stiff peaks (firm but not dry or grainy).
- Soft peaks mean the cream holds shape but slightly droops; stiff peaks hold shape firmly.
3.2.6. If Cream Starts to Split
- Stop whipping immediately.
- You can try to rescue slightly overwhipped cream by gently folding in a small amount of unwhipped cream to restore smoothness.
- If fully split (butter separated), it’s better to start over.
3.2.7. Use Clean Equipment
- Always use a clean, dry bowl and beaters free from any grease or detergent residues.
3.3. Extra Tips:
- If your kitchen is very warm, consider whipping cream in small batches in a cool environment.
- For more stability (especially for frosting or piping), add a stabilizer like gelatin, cornstarch, or commercial whipped cream stabilizer.
- Avoid using ultra-pasteurized cream as it sometimes doesn’t whip as well as fresh cream.
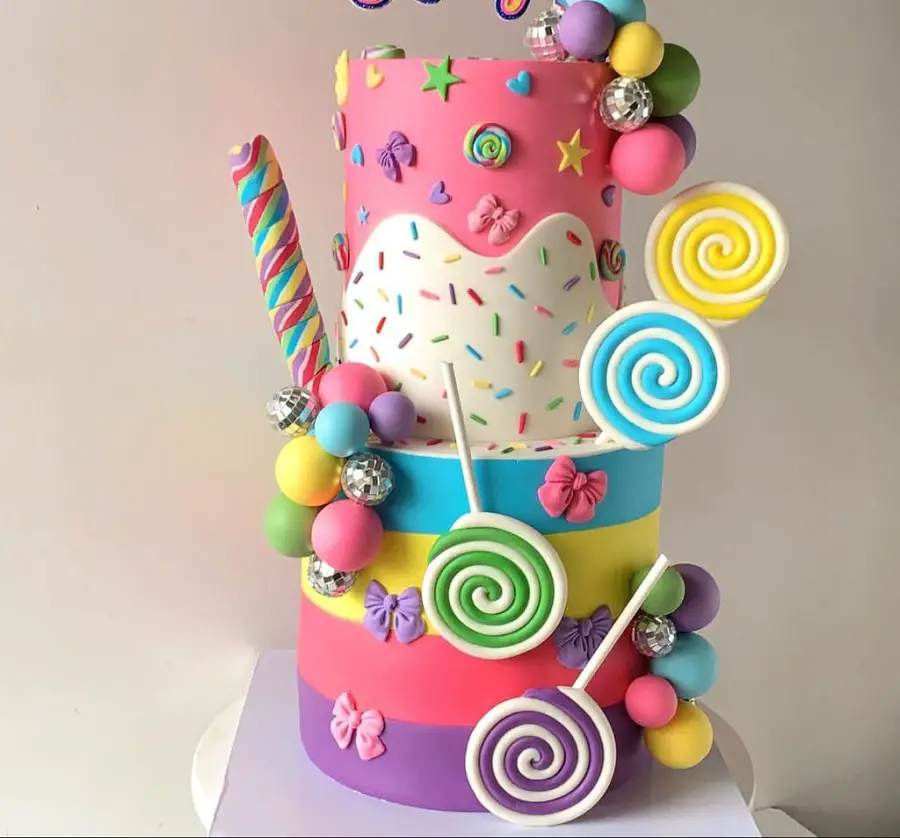
4. Frosting Melts or Smears
Having your beautiful frosting melt or smear can be frustrating, especially when you want a clean, polished look on your cake. Understanding why this happens and how to fix it will help you create a stable and attractive frosting finish every time.
4.1. Why Does Frosting Melt or Smear?
4.1.1. Room or Environment Too Warm
- High temperatures cause frosting to soften, melt, and lose structure quickly.
4.1.2. Frosting Ingredients Not Balanced
- Too much butter, cream, or liquid makes frosting soft and prone to smearing.
- Using low-fat or non-stabilized whipped cream also causes melting.
4.1.3. Frosting Applied on Warm Cake
- If the cake layers are warm or hot, frosting will melt upon contact.
4.1.4. Overly Thin or Runny Frosting
- Frosting that is too thin or watery won’t hold shape well and will smear.
4.1.5. Humidity
- High humidity levels can cause frosting to absorb moisture and soften.
4.1.6. Frosting Not Chilled Properly Before Decorating
- Frosting that hasn’t chilled enough before use can be too soft.
4.2. How to Fix or Prevent Frosting Melting or Smearing
Chill Cake Layers Before Frosting
- Allow the cake to cool completely to room temperature, then chill it in the refrigerator for at least 30 minutes before frosting.
- This creates a firm surface that helps frosting set better.
4.2.1. Use Proper Frosting Recipes
- Use frosting recipes with a good balance of fat and powdered sugar for stability, like classic buttercream or cream cheese frosting.
- For whipped cream frosting, stabilize it with gelatin or commercial stabilizers to prevent melting.
4.2.2. Chill Frosting Before Use
- Refrigerate frosting for 20–30 minutes before spreading.
- If frosting becomes too firm in the fridge, let it soften slightly at room temperature before using.
4.2.3. Adjust Consistency
- If frosting is too runny, add more powdered sugar a little at a time to thicken.
- For cream-based frostings, you can also add a small amount of cornstarch or gelatin to stabilize.
4.2.4. Work in a Cool Environment
- Decorate in a cool kitchen or air-conditioned room to prevent frosting from melting.
- Avoid working near heat sources like ovens or direct sunlight.
4.2.5. Apply Frosting in Thin Layers (Crumb Coat First)
- Apply a thin crumb coat layer and chill it before applying the final frosting layer.
- This helps lock crumbs in and provides a stable base for decorating.
4.2.6. Use Proper Tools and Techniques
- Use an offset spatula and bench scraper to apply and smooth frosting gently.
- Avoid pressing too hard, which can smear the frosting.
4.2.7. Store the Finished Cake Properly
- Refrigerate the cake if not serving immediately.
- Let refrigerated cake sit at room temperature for 20–30 minutes before slicing and serving for best texture.
4.3. Extra Tips:
- For hot climates or outdoor events, consider using fondant or buttercream with added stabilizers.
- If frosting does smear, you can chill the cake again and carefully smooth the frosting with a chilled spatula.
- Avoid over-beating frosting, which can introduce too much air and cause it to melt faster.
5. Cake Cracks on the Surface
Cracks on the surface of a cake can affect its appearance and texture. Understanding why this happens and how to fix or prevent it will help you bake smooth, even cakes every time.
5.1. Why Does a Cake Crack on the Surface?
5.1.1. Oven Temperature Too High
- High heat causes the outer edges of the cake to set and cook faster than the center, which continues to expand and crack the surface.
5.1.2. Overmixing the Batter
- Overmixing develops too much gluten, making the batter tough and prone to cracking as it bakes.
5.1.3. Using the Wrong Pan Size or Material
- A pan that is too small causes the batter to rise unevenly and crack.
- Thin or dark-colored pans absorb heat quickly, causing uneven baking.
5.1.4. Baking Time Too Long
- Overbaking dries out the cake, making the surface crack and become hard.
5.1.5. Too Much Leavening Agent
- Excess baking powder or baking soda can cause the cake to rise rapidly and then crack as the structure can’t hold.
5.1.6. Not Enough Moisture in Batter
- A dry batter lacks flexibility and cracks as it bakes.
5.2. How to Fix or Prevent Cake Cracking
5.2.1. Monitor and Adjust Oven Temperature
- Use an oven thermometer to ensure accurate temperature.
- Bake at the recommended temperature, or slightly lower (by 10–15°F / 5–8°C) if your oven tends to run hot.
5.2.2. Mix Batter Properly
- Mix ingredients just until combined to avoid overdeveloping gluten.
- Avoid vigorous or extended mixing once flour is added.
5.2.3. Use the Right Pan
- Use the pan size specified in the recipe to ensure even baking.
- Consider using light-colored, heavy-duty metal pans for better heat distribution.
5.2.4. Avoid Overbaking
- Start checking for doneness 5–10 minutes before the minimum baking time.
- Use a toothpick or skewer inserted in the center — it should come out with moist crumbs, not dry or wet batter.
5.2.5. Measure Leavening Agents Accurately
- Use the exact amount of baking powder or soda specified.
- Check that your leavening agents are fresh and not expired.
5.2.6. Maintain Proper Moisture Levels
- Follow the recipe’s liquid ingredients carefully.
- Add a little extra moisture (milk, buttermilk, or oil) if you know your oven or environment tends to dry cakes out.
5.2.7. Use Baking Strips or Insulate Pans (Optional)
- Baking strips wrapped around the pan keep edges cooler, encouraging even baking and reducing cracks.
5.3. Extra Tips:
- Avoid opening the oven door frequently during baking, as sudden temperature changes can affect rising and cracking.
- Let the cake cool gradually in the pan on a wire rack before removing to prevent sudden shrinking or cracking.
- If cracks appear on the finished cake, you can level or trim the surface before frosting to achieve a smooth finish.
6. Eggy Smell in the Cake
An unpleasant eggy smell in your cake can distract from its flavor and enjoyment. Understanding the causes and how to address them will help you bake cakes with a balanced and delightful aroma.
6.1. Why Does a Cake Have an Eggy Smell?
6.1.1. Using Too Many Eggs
- Excessive eggs in the recipe can make the egg flavor overpowering.
6.1.2. Undercooked Eggs
- If the cake is underbaked, the eggs may not cook fully, leaving a strong eggy odor.
6.1.3. Poor Quality or Old Eggs
- Eggs that are old or of lower quality can have stronger odors and off-flavors.
6.1.4. Not Enough Flavorings to Balance Eggs
- Recipes lacking vanilla extract, citrus zest, or spices may let the egg smell dominate.
6.1.5. Using Whole Eggs Instead of Egg Whites or Adjusting Ratios Improperly
- Some recipes require separating eggs or adjusting yolk-to-white ratios for better flavor balance.
6.2. How to Fix or Prevent Eggy Smell in Cake
6.2.1. Follow the Recipe’s Egg Quantity
- Use the number of eggs specified in the recipe.
- Avoid adding extra eggs unless you adjust other ingredients accordingly.
6.2.2. Bake Thoroughly
- Ensure the cake is fully baked by testing with a toothpick or skewer — it should come out clean or with a few moist crumbs.
- Undercooked cake can leave a raw egg smell and taste.
6.2.3. Use Fresh, High-Quality Eggs
- Buy fresh eggs and store them properly in the refrigerator.
- Avoid using eggs past their expiration date.
6.2.4. Incorporate Flavorings That Balance Egginess
- Add vanilla extract, almond extract, citrus zest (lemon or orange), or spices like cinnamon and nutmeg to complement and mask egg odors.
- These flavors add depth and balance to the cake’s aroma.
6.2.5. Consider Using Egg Substitutes or Adjusting Ratios
- For some recipes, using more egg whites than yolks or using egg substitutes can reduce the eggy taste.
- Experiment carefully, as eggs also affect texture and structure.
6.2.6. Proper Mixing
- Ensure eggs are well incorporated into the batter to prevent concentrated egg pockets that smell strongly.
6.3. Extra Tips:
- For a more delicate flavor, try recipes that use fewer eggs or combine eggs with other binding agents like yogurt or sour cream.
- Avoid overbeating eggs separately, which can sometimes intensify egg flavor.
- Adding a small amount of milk or cream can help mellow egg taste in the batter.
Conclusion
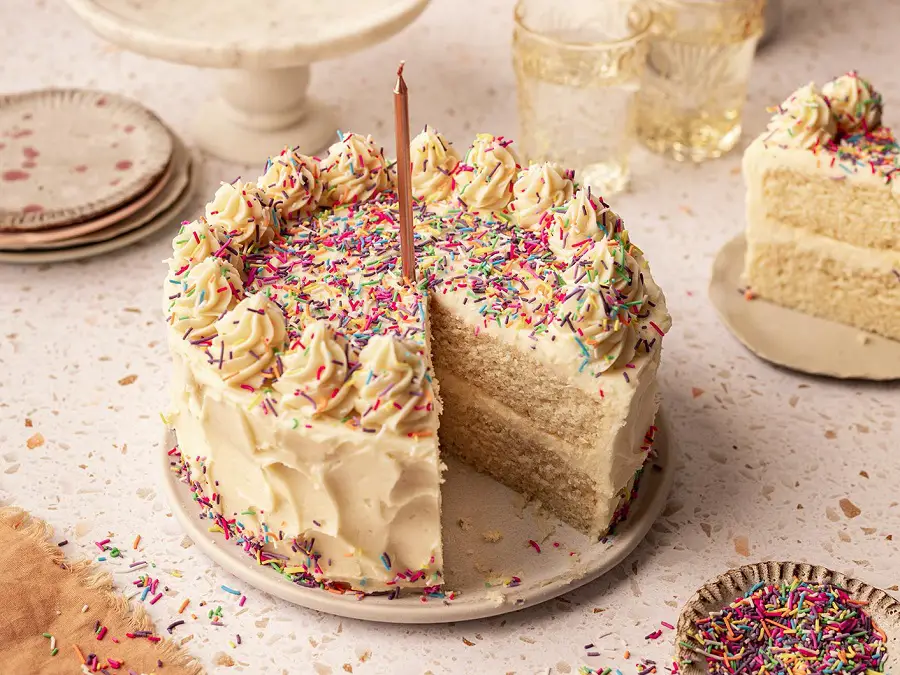
Making a birthday cake with my own hands is a journey full of challenges, yet overflowing with joy and meaning. Through every step of preparation, mixing batter, whipping cream, and carefully decorating, I have not only learned how to bake but also discovered the power of patience, love, and belief in myself.
Even when things go wrong — when the cake doesn’t rise, the cream splits, or the frosting smears — I realize that every difficulty is a valuable lesson, an opportunity to grow and improve. And when I see the bright eyes and happy smiles of my loved ones receiving a cake I made, I understand that all my effort has been truly worth it.
The cake is not just a sweet treat; it’s a message of love, care, and unforgettable sweet memories. Each cake tells a story, a heartfelt gift — and that makes me feel proud and deeply fulfilled.
And I want to tell you: “I can do it — so can you!” Nothing is too difficult when you put your heart and faith into it. Start small, overcome challenges, and turn your sweet dreams into reality. You absolutely can create wonderful birthday cakes, not only to enjoy but also to share joy and love with those dear to you.

