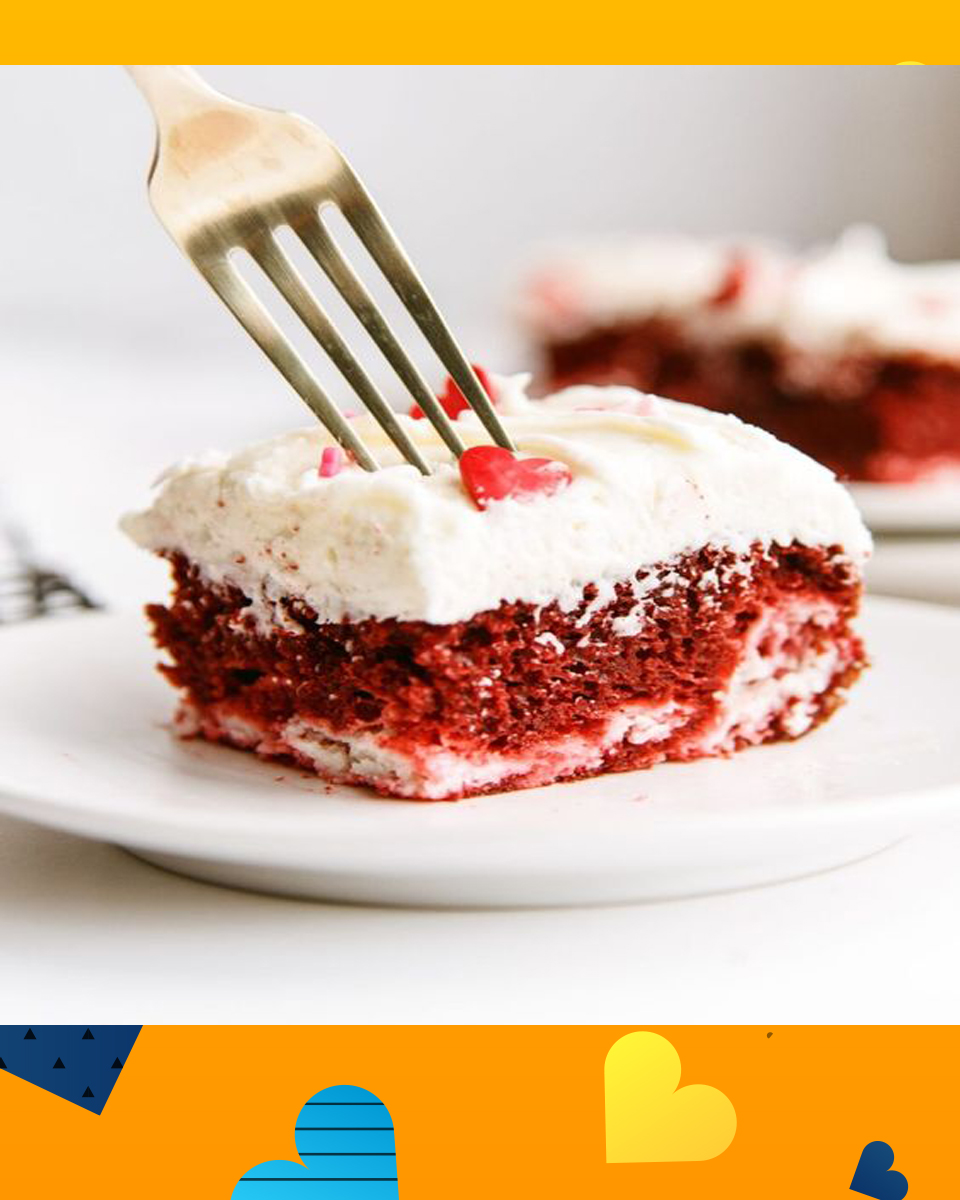
The Red Velvet Cheesecake Cake is a sublime and indulgent dessert that beautifully marries the rich flavors of red velvet cake and creamy cheesecake. This dessert is a true showstopper, featuring layers of moist and velvety red velvet cake alternated with luscious and velvety cheesecake layers. The combination of the vibrant red hues and the creamy white layers creates a visually striking dessert that’s perfect for special occasions and celebrations. Topped with a generous layer of cream cheese frosting, this cake boasts a harmonious balance of flavors – the slightly tangy sweetness of the frosting harmonizing with the smooth, delicate cheesecake and the cocoa-infused red velvet cake layers. The Red Velvet Cheesecake Cake is a treat that not only captivates the eyes but also satisfies the taste buds with its decadent blend of textures and tastes.
What is Red Velvet Cheesecake Cake ?
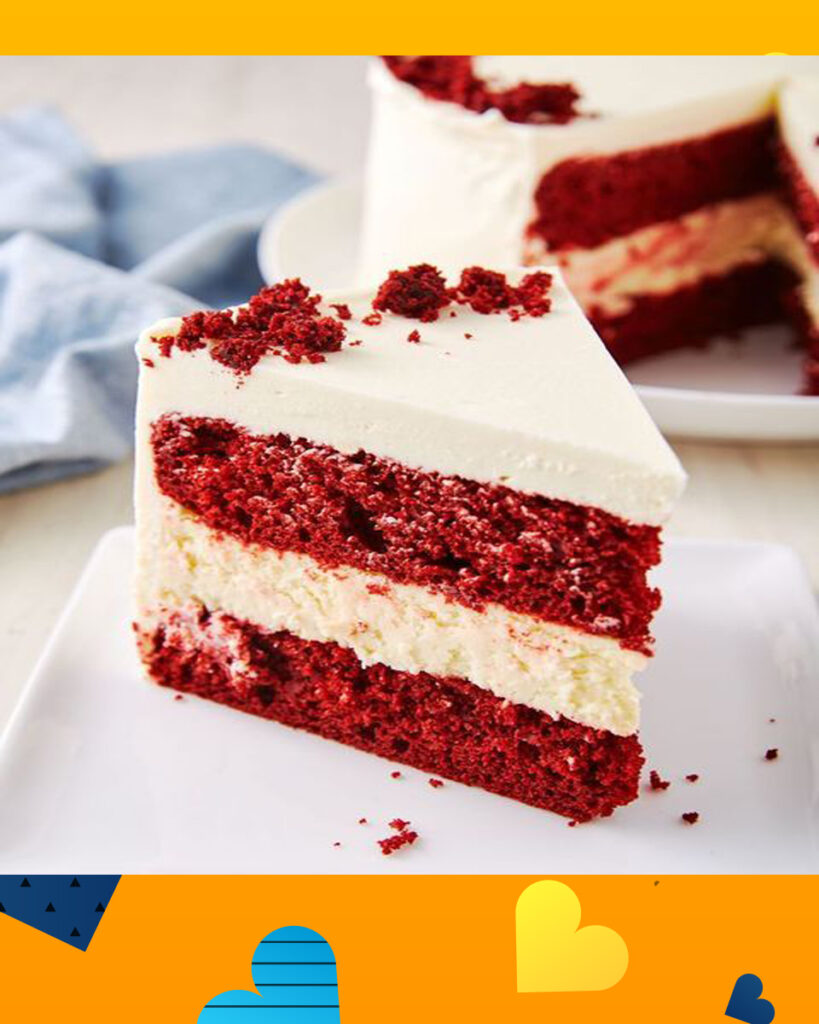
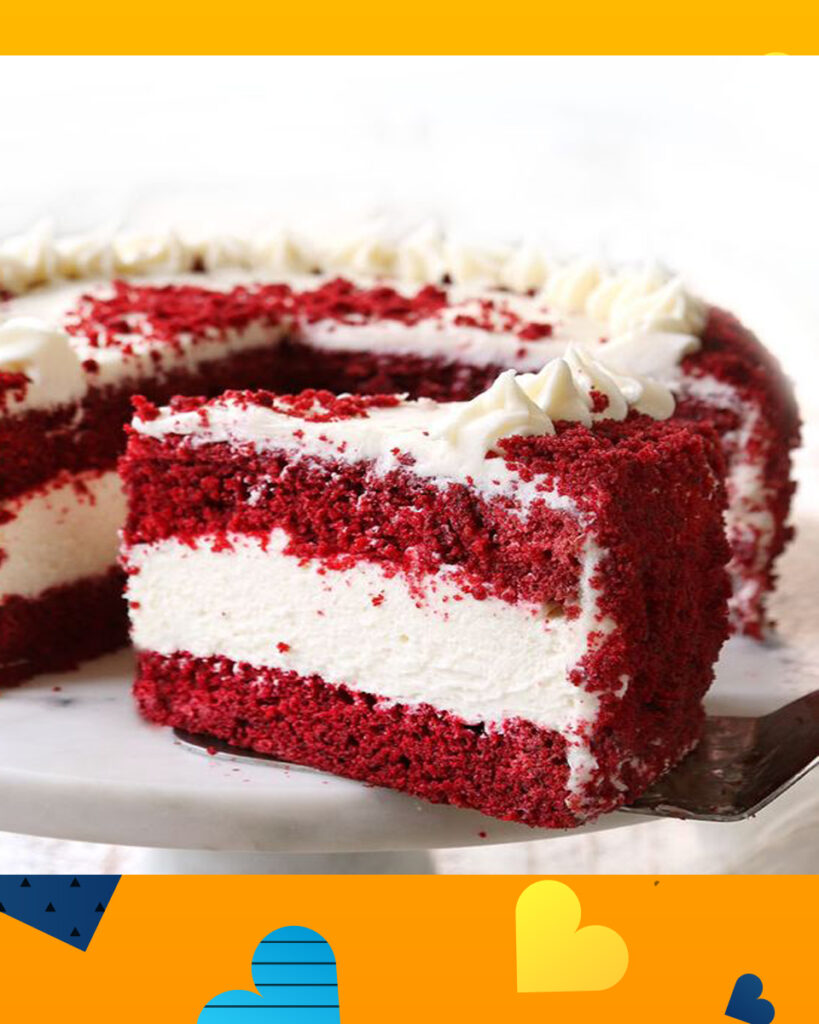
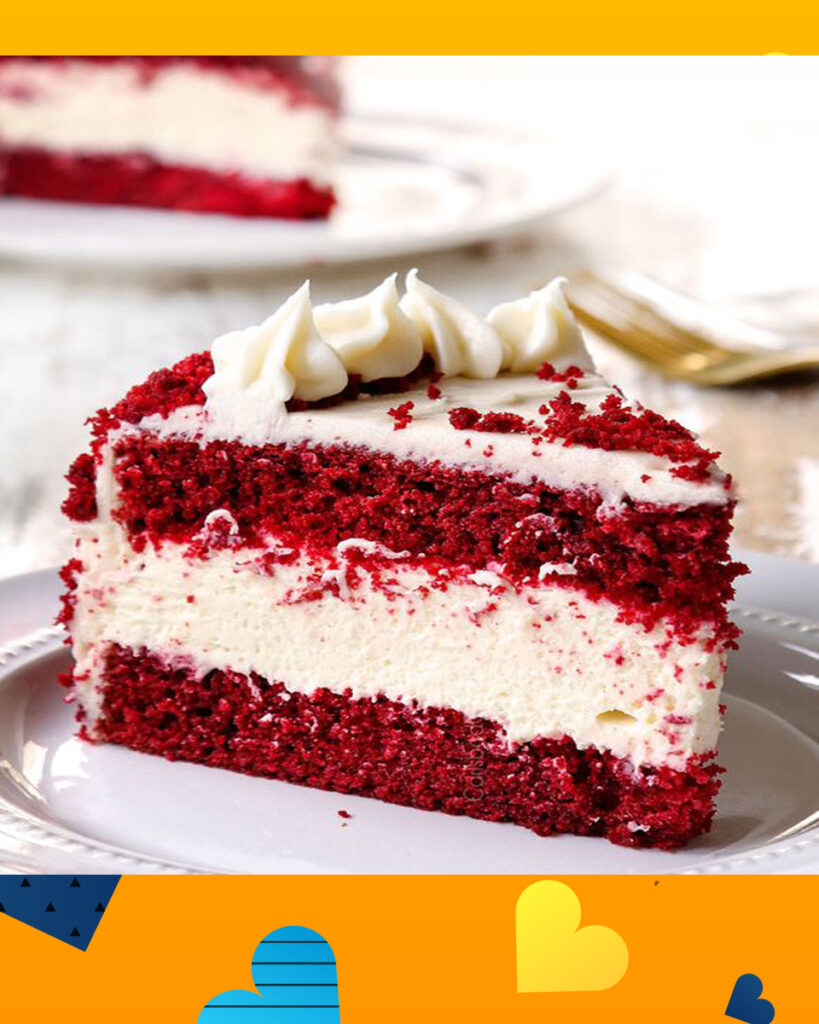
Red Velvet Cheesecake Cake is a decadent and delightful dessert that combines the flavors and textures of red velvet cake and cheesecake into a single, show-stopping treat. This dessert features layers of rich red velvet cake and velvety cheesecake, often stacked alternately to create a visually stunning presentation. The layers are typically separated by a thin spread of cream cheese frosting, adding an extra layer of flavor and creaminess.
The red velvet cake layers are known for their striking deep red color, hint of cocoa flavor, and moist, tender crumb. The vibrant hue is achieved through the use of red food coloring, and the subtle cocoa undertones complement the tangy sweetness of the cream cheese frosting and cheesecake layers.
The cheesecake layers contribute a creamy and luxurious element to the dessert. They provide a smooth and silky contrast to the slightly denser cake layers, creating a harmonious balance of textures. The combination of these two classic desserts results in a dessert that’s both indulgent and visually appealing.
To finish the Red Velvet Cheesecake Cake, it’s often generously frosted with cream cheese frosting, adding an additional layer of rich flavor and creaminess. This frosting not only enhances the taste but also provides a canvas for creative decorations and designs.
Red Velvet Cheesecake Cake is a popular choice for special occasions, celebrations, and holidays due to its elegance and unique blend of flavors. Whether you’re a fan of red velvet cake, cheesecake, or both, this dessert offers the best of both worlds in a single slice.
Can I make a gluten-free or eggless version of Red Velvet Cheesecake Cake?
Yes, you can definitely make a gluten-free or eggless version of a Red Velvet Cheesecake Cake. Here are some tips and considerations for each option:
Gluten-Free Red Velvet Cheesecake Cake:
For the red velvet cake layers, you can replace the all-purpose flour with a gluten-free flour blend. Make sure to choose a blend that is suitable for baking and has a similar texture to regular flour. Keep in mind that gluten-free flours may absorb liquids differently, so you might need to adjust the moisture content of the batter. Additionally, adding a small amount of xanthan gum can help improve the texture of gluten-free baked goods.
For the cheesecake layers, the main concern is the crust. Instead of using a traditional graham cracker crust, consider using a gluten-free alternative like almond flour, gluten-free graham crackers, or a combination of gluten-free oats and nuts.
Eggless Red Velvet Cheesecake Cake:
To make an eggless version of the cake, you’ll need to find suitable egg substitutes. Common egg substitutes for baking include mashed bananas, applesauce, yogurt, silken tofu, vinegar, or commercial egg replacers. The choice of egg substitute may vary based on the specific recipe and your personal preferences. Keep in mind that egg substitutes can affect the texture and taste of the final product, so it might take some experimentation to find the best option for your taste.
When substituting eggs, you’ll need to consider the binding and leavening properties that eggs provide. To replace the moisture and binding, you can typically use around 1/4 cup of egg substitute per egg. To replace the leavening, consider adding a bit more baking powder or baking soda to ensure proper rising.
It’s important to note that gluten-free and eggless baking can be a bit more challenging due to the complexities of ingredient interactions. It’s a good idea to test your modifications on a smaller scale before making a full cake to ensure the desired texture and flavor.
Regardless of the modifications you make, keep in mind that the final result might vary from the traditional Red Velvet Cheesecake Cake, but with careful adjustments, you can still create a delicious and satisfying dessert that meets your dietary preferences.
Why you will love Red Velvet Cheesecake Cake?
There are several reasons why you might fall in love with Red Velvet Cheesecake Cake:
- Perfect Harmony of Flavors: Red Velvet Cheesecake Cake combines the distinct flavors of red velvet cake, cheesecake, and cream cheese frosting into a single dessert. The tangy sweetness of the cream cheese frosting complements the rich cocoa undertones of the red velvet cake and the creamy texture of the cheesecake.
- Decadent Texture Combination: The dessert offers a delightful contrast in textures. The moist and tender crumb of the red velvet cake pairs beautifully with the silky and creamy texture of the cheesecake layers. This interplay of textures elevates each bite, providing a luxurious and indulgent experience.
- Visual Appeal: The striking red color of the red velvet cake layers against the creamy white cheesecake layers creates a visually stunning presentation. The dessert’s layers and contrasts make it an eye-catching centerpiece for celebrations and gatherings.
- Showstopper Dessert: Red Velvet Cheesecake Cake is more than just a dessert—it’s a masterpiece. Whether it’s a birthday, holiday, or any special occasion, this cake is sure to impress and captivate your guests.
- Celebratory Choice: Its elegant appearance and delightful flavor combination make it an ideal choice for special occasions. It’s a cake that makes moments feel even more memorable.
- Versatility: While the combination of red velvet cake and cheesecake is divine on its own, you can also get creative with the flavors. Add layers of fruits, chocolate chips, or even swirl in caramel or chocolate sauce for an extra layer of flavor and excitement.
- Dessert Innovation: Red Velvet Cheesecake Cake is a beautiful example of culinary innovation. It brings together two beloved desserts in a way that highlights their individual qualities while creating something new and extraordinary.
- Satisfies Various Tastes: If you’re serving a crowd, this dessert has the ability to satisfy diverse palates. Those who love cake and those who love cheesecake can both enjoy a slice that appeals to their preferences.
- Expression of Love: The effort and care that go into creating such a masterpiece can convey love and appreciation. It’s a wonderful way to show someone you care.
- Memorable Experience: The memories associated with enjoying a slice of Red Velvet Cheesecake Cake can become cherished moments. The taste, texture, and beauty of the dessert can become part of your most memorable experiences.
In essence, Red Velvet Cheesecake Cake is a fusion of flavors and textures that’s both elegant and indulgent. Its ability to evoke joy, admiration, and satisfaction makes it a dessert that’s truly special and worth celebrating.
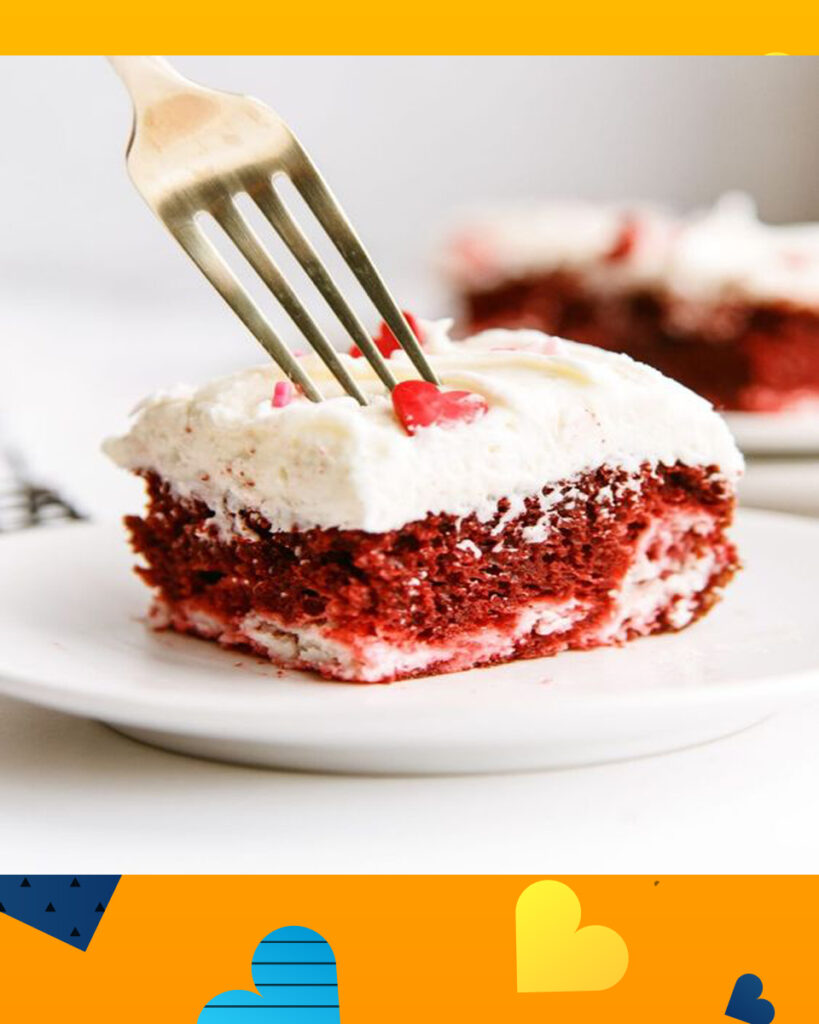
Red Velvet Cheesecake Cake Recipe
Red Velvet Cake Layers:
Ingredients:
- 2½ cups all-purpose flour
- 1½ cups granulated sugar
- 1 teaspoon baking powder
- 1 teaspoon baking soda
- 1 teaspoon cocoa powder
- ½ teaspoon salt
- 1 cup buttermilk, at room temperature
- ½ cup vegetable oil
- 2 large eggs, at room temperature
- 2 tablespoons red food coloring
- 1 teaspoon vanilla extract
- 1 teaspoon white vinegar
Instructions:
- Preheat the Oven:
- Preheat your oven to 350°F (175°C). Grease and line two 9-inch round cake pans with parchment paper.
- Combine Dry Ingredients:
- In a mixing bowl, whisk together flour, sugar, baking powder, baking soda, cocoa powder, and salt.
- Combine Wet Ingredients:
- In a separate bowl, whisk together buttermilk, vegetable oil, eggs, red food coloring, vanilla extract, and white vinegar.
- Mix and Divide Batter:
- Gradually add the wet ingredients to the dry ingredients, mixing until just combined. Do not overmix. Divide the batter evenly between the prepared pans.
- Bake the Cake:
- Bake in the preheated oven for about 25-30 minutes, or until a toothpick inserted into the center of the cakes comes out clean. Allow the cakes to cool in the pans for 10 minutes, then transfer to a wire rack to cool completely.
Cheesecake Layers:
Ingredients:
- 24 oz (680g) cream cheese, softened
- ¾ cup granulated sugar
- 3 large eggs
- 1 teaspoon vanilla extract
Instructions:
- Preheat the Oven:
- Preheat your oven to 325°F (163°C). Grease and line two 9-inch round cake pans with parchment paper.
- Prepare the Cheesecake Batter:
- In a mixing bowl, beat the softened cream cheese until smooth and creamy. Add sugar and mix until well combined. Add eggs one at a time, mixing well after each addition. Stir in vanilla extract.
- Assemble and Bake:
- Divide the cheesecake batter evenly between the prepared pans. Place the cake pans in a larger baking pan and add hot water to the larger pan to create a water bath. This helps prevent cracks in the cheesecake.
- Bake in the preheated oven for about 45-50 minutes, or until the cheesecakes are set but slightly jiggly in the center. Turn off the oven and leave the cheesecakes in the oven for about an hour with the door ajar.
- Remove the cheesecakes from the oven and let them cool completely before refrigerating.
Cream Cheese Frosting:
Ingredients:
- 16 oz (450g) cream cheese, softened
- ½ cup (1 stick or 113g) unsalted butter, softened
- 4 cups (480g) powdered sugar, sifted
- 1 teaspoon vanilla extract
Instructions:
- Prepare Ingredients:
- Make sure the cream cheese and butter are at room temperature.
- Mix Cream Cheese and Butter:
- In a mixing bowl, beat the softened cream cheese and butter until creamy and smooth.
- Add Vanilla and Powdered Sugar:
- Mix in the vanilla extract. Gradually add the sifted powdered sugar in batches, mixing well after each addition.
- Adjust Consistency and Flavor:
- If the frosting is too thick, you can add a small amount of milk or cream to reach the desired consistency. Taste and adjust the flavor if needed.
Assembling the Red Velvet Cheesecake Cake:
- Level the Cakes: If necessary, level the tops of the cake layers to create even surfaces.
- Layering:
- Place one red velvet cake layer on a serving plate or cake stand. Spread a thin layer of cream cheese frosting over the cake layer.
- Carefully place one of the cheesecake layers on top of the frosted cake layer. Spread another thin layer of frosting over the cheesecake layer.
- Place the second red velvet cake layer on top of the cheesecake layer. Frost the entire cake with a thin layer of frosting to create a crumb coat.
- Chilling:
- Refrigerate the cake for about 30 minutes to allow the crumb coat to set.
- Final Frosting and Decoration:
- Apply a final layer of cream cheese frosting to the entire cake. Use a spatula to create a smooth finish.
- Decorate the cake as desired, using additional cream cheese frosting for piping and designs.
- Chill and Serve:
- Refrigerate the cake for a few hours or overnight before serving to allow the flavors to meld and the cake to set.
Enjoy your homemade Red Velvet Cheesecake Cake—a masterpiece of flavors, textures, and visual appeal!
Nutrition information
Providing exact nutrition information for a homemade recipe can be challenging due to variations in ingredient brands, portion sizes, and specific preparation methods. However, I can offer a general idea of the nutritional content for Red Velvet Cheesecake Cake based on the ingredients and quantities provided earlier.
Please note that these values are approximate and can vary based on factors such as frosting thickness, slice size, and individual variations in ingredients. The following nutritional information is for a single slice of Red Velvet Cheesecake Cake, assuming the cake is divided into 12 equal slices:
Nutritional Information (Approximate) Per Slice:
- Calories: Around 660 kcal
- Total Fat: Approximately 38g
- Saturated Fat: Around 18g
- Trans Fat: Minimal
- Cholesterol: Roughly 160mg
- Sodium: About 380mg
- Total Carbohydrates: Around 71g
- Dietary Fiber: Minimal
- Sugars: Approximately 53g
- Protein: Roughly 9g
Keep in mind that this is a rich and indulgent dessert, and these values are relatively high due to the combination of cake, cheesecake, and cream cheese frosting. The serving size is an estimated slice of the cake based on dividing it into 12 portions. Adjusting the slice size or ingredient quantities will affect the nutritional content.
If you have specific dietary concerns or restrictions, it’s recommended to calculate the nutritional information based on the specific brands and quantities of ingredients you use, using a reliable nutrition calculator.
How to decorate Red Velvet Cheesecake Cake
Decorating a Red Velvet Cheesecake Cake can be a creative and fun process that adds a beautiful finishing touch to your masterpiece. Here are some decoration ideas and steps to consider:
Cream Cheese Frosting Swirls:
One of the classic and elegant ways to decorate a Red Velvet Cheesecake Cake is by using cream cheese frosting to create swirls, rosettes, or other designs on the cake’s surface. Here’s how:
- Prepare the Cake: Ensure your cake is properly chilled and set before decorating.
- Frosting Consistency: Make sure your cream cheese frosting is at the right consistency for piping. It should be soft enough to pipe easily, but not so soft that it loses its shape.
- Piping Tips: Choose your favorite piping tips to achieve the desired design. Large star tips (like a Wilton 1M) work well for creating swirls, while smaller round tips are great for writing or adding small details.
- Piping Bags: Fit your chosen piping tip onto a piping bag and fill it with cream cheese frosting. Twist the top of the bag to secure the frosting.
- Practice on a Surface: Before piping directly onto the cake, practice your piping technique on a plate or parchment paper to get comfortable with the pressure and movement.
- Start Piping: Begin piping your desired design onto the cake’s surface. You can start from the outside and work your way to the center, or vice versa. For swirls, simply apply pressure and swirl the piping tip in a circular motion.
- Variation: Create a pattern by alternating different piping tips or colors of frosting. You can also use edible glitter, sprinkles, or edible flowers to enhance the design.
Cake Borders:
Adding a decorative border around the top or bottom edge of the cake can provide a polished look:
- Choose a Piping Tip: Select a piping tip that suits your vision for the cake’s appearance.
- Pipe the Border: Hold the piping bag at a 90-degree angle to the cake’s edge. Apply steady pressure and move the bag in a straight line while squeezing the frosting out.
- Experiment: Borders can be simple or elaborate. You can create a rope-like border, a beaded border, or any design that matches your theme.
Edible Decorations:
Enhance the cake’s appearance with edible decorations:
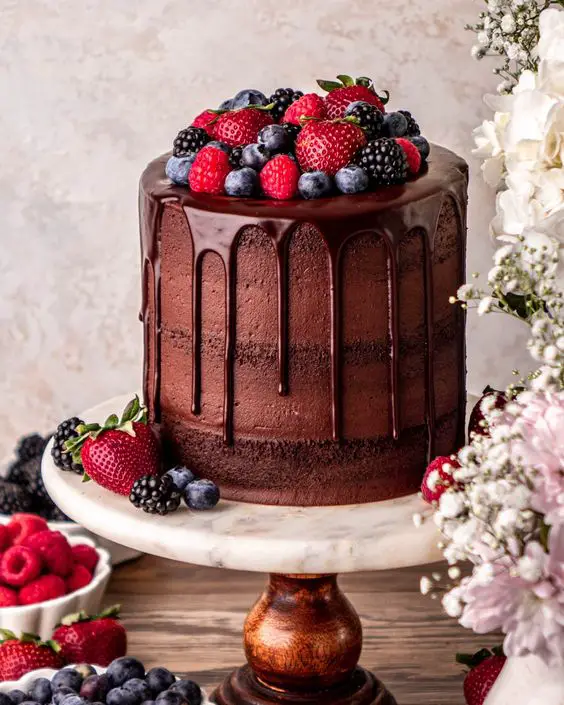
- Fresh Berries: Arrange fresh berries, such as strawberries or raspberries, on top of the cake for a burst of color and flavor.
- Chocolate Shavings: Use a vegetable peeler to create chocolate shavings or curls. Sprinkle them over the cake for an elegant touch.
- Edible Flowers: Use edible flowers (make sure they’re safe for consumption) to create a natural and visually appealing decoration.
- Crushed Nuts: Sprinkle crushed nuts, like chopped pistachios or toasted almonds, around the edges of the cake.
Remember, decorating is an opportunity to express your creativity. Whether you opt for a simple and classic design or go all out with intricate patterns, the goal is to create a visually pleasing cake that complements the delicious flavors of the Red Velvet Cheesecake Cake.
Tips to make perfect Red Velvet Cheesecake Cake
Creating the perfect Red Velvet Cheesecake Cake requires attention to detail and a few key techniques. Here are some tips to help you achieve a flawless and delicious result:
- Plan Ahead:
- Read the entire recipe carefully before you start. This will help you understand the process, timing, and any specific instructions.
- Preparation:
- Ensure that all your ingredients are at room temperature unless otherwise specified. This helps ingredients incorporate more smoothly and evenly.
- Quality Ingredients:
- Use high-quality ingredients, especially for the cream cheese and cocoa powder. Quality ingredients contribute to a superior flavor and texture.
- Proper Mixing:
- For both the red velvet cake and cheesecake batter, mix until the ingredients are just combined. Overmixing can lead to tough cakes or cracks in the cheesecake.
- Layer Thickness:
- Aim for uniform cake and cheesecake layers. Measure the batter when pouring it into the pans to ensure even layers.
- Baking Techniques:
- Use an oven thermometer to ensure your oven is at the correct temperature.
- For the cheesecake layers, use a water bath to prevent cracks. Place the cake pans in a larger pan filled with hot water before baking.
- Cooling:
- Allow cakes and cheesecake layers to cool completely before assembling the cake. This prevents melting or uneven layers.
- Leveling:
- If necessary, level the tops of the cake and cheesecake layers using a serrated knife to ensure they stack evenly.
- Crumb Coat:
- Apply a thin layer of cream cheese frosting all over the cake to trap any loose crumbs. This provides a smooth surface for the final layer of frosting.
- Chilling:
- Chill the cake after applying the crumb coat to set it before adding the final layer of frosting.
- Frosting Technique:
- Apply a thin layer of cream cheese frosting as a base layer before adding any decorative piping or designs. This helps the decorations adhere better.
- Piping Practice:
- If you’re planning to pipe decorations, practice on a separate surface before applying them to the cake. This helps ensure a steady hand and desired design.
- Patience:
- Take your time when assembling and decorating the cake. Precision and care will yield a more professional-looking result.
- Presentation:
- Place the finished cake on a clean and attractive serving plate or cake stand. A well-chosen presentation enhances the overall appearance.
- Enjoy and Share:
- Once the cake is complete, share it with loved ones and savor the fruits of your labor!
Remember, practice makes perfect. Don’t be discouraged if your first attempt isn’t flawless. With these tips and a bit of patience, you’ll be able to create a Red Velvet Cheesecake Cake that’s both visually stunning and absolutely delectable.
How to serve
Serving Red Velvet Cheesecake Cake is a delightful experience that involves showcasing its flavors and presentation. Here’s how to serve this delicious dessert:
- Chilled and Set:
- Make sure the cake has been properly chilled and set before serving. This ensures that the layers are firm and the flavors have melded together.
- Slice Preparation:
- Use a sharp, non-serrated knife that’s been dipped in warm water and wiped clean. This helps create clean and smooth slices.
- Portion Size:
- Consider the portion size you’d like to serve. Red Velvet Cheesecake Cake is rich and indulgent, so smaller slices are often preferred.
- Plating:
- Place a slice of the cake onto a clean and attractive dessert plate. Use a flat spatula for easy lifting.
- Garnish:
- Add a finishing touch by garnishing the slice. Some options include a dusting of powdered sugar, a sprinkle of cocoa powder, a drizzle of chocolate sauce, or a fresh berry on top.
- Side Accompaniments:
- You can serve the cake with a dollop of whipped cream, a scoop of vanilla ice cream, or a small side of fresh berries. These complementary elements add extra flavor and texture to the dessert.
- Presentation:
- Pay attention to the presentation. Place the slice on the plate thoughtfully, ensuring it’s centered and appealing.
- Serve with Utensils:
- Provide forks, spoons, or dessert forks for guests to enjoy the cake comfortably.
- Enjoy the Layers:
- Encourage your guests to savor the layers of both red velvet cake and cheesecake in each bite. The different textures and flavors make each forkful unique.
- Share and Celebrate:
- Serving Red Velvet Cheesecake Cake is an opportunity to celebrate and share joy with family and friends. Enjoy the moment and the smiles it brings!
Remember, the joy of serving Red Velvet Cheesecake Cake goes beyond just the taste. The visual appeal and the layers of flavors make it a dessert that’s not only enjoyed but also admired.
How to store
Proper storage is crucial to maintain the freshness and quality of your Red Velvet Cheesecake Cake. Here’s how to store it:
- Refrigeration:
- Due to the cream cheese and cheesecake layers, Red Velvet Cheesecake Cake should be stored in the refrigerator at all times.
- Cover the Cake:
- If the cake is on a cake stand with a lid, simply place the lid on top. If not, cover the cake with plastic wrap or aluminum foil. Make sure the wrap or foil doesn’t touch the cake’s surface, as this can smudge the frosting.
- Airtight Container:
- If you have an airtight cake carrier or container large enough to accommodate the cake, that’s an excellent option for storage.
- Avoid Odors:
- Keep the cake away from strongly scented foods in the refrigerator to prevent the cake from absorbing any unwanted odors.
- Stable Shelf:
- Choose a stable shelf or area in the refrigerator to prevent the cake from shifting or being exposed to temperature fluctuations when the door is opened.
- Separate Layers:
- If you have leftover slices, store them in individual airtight containers to prevent the flavors from mingling.
- Label and Date:
- If you plan to store the cake for more than a day, label the container with the date it was made. Red Velvet Cheesecake Cake is best enjoyed within a few days of making it.
- Serve at Room Temperature:
- Before serving, allow the cake to sit at room temperature for about 15-30 minutes. This allows the flavors to develop and the layers to soften slightly, enhancing the overall experience.
- Avoid Freezing:
- While you can technically freeze Red Velvet Cheesecake Cake, the texture and quality of the cake and cheesecake layers may be compromised upon thawing. It’s best to enjoy the cake within a few days of making it.
By following these storage guidelines, you can enjoy the deliciousness of your Red Velvet Cheesecake Cake for as long as it remains fresh. Remember that cream cheese and dairy-based products are perishable, so it’s important to prioritize food safety and the quality of your dessert.
FAQ’s
- What is a Red Velvet Cheesecake Cake? A Red Velvet Cheesecake Cake is a layered dessert that combines the flavors of red velvet cake and cheesecake. It typically consists of alternating layers of red velvet cake and cheesecake, often topped with cream cheese frosting.
- How do I achieve the vibrant red color in red velvet cake? The red color in red velvet cake is achieved using red food coloring. You’ll typically need a moderate amount of red food coloring to achieve the desired hue.
- Can I make a gluten-free or eggless version of Red Velvet Cheesecake Cake? Yes, you can adapt the recipe to be gluten-free or eggless by using gluten-free flour blends or egg substitutes. However, be aware that altering the ingredients might affect the texture and taste.
- Can I make this cake in advance? Yes, you can prepare this cake in advance. Both the cake and the cheesecake layers can be baked ahead of time and refrigerated or frozen until you’re ready to assemble the cake.
- How should I store leftovers? Store leftovers in the refrigerator in an airtight container. Due to the cheesecake layers, it’s best to keep the cake refrigerated.
- Can I freeze Red Velvet Cheesecake Cake? Yes, you can freeze this cake, but it’s advisable to freeze it without the cream cheese frosting. Wrap the cake tightly in plastic wrap and aluminum foil, and thaw it slowly in the refrigerator before adding the frosting.
Troubleshooting Red Velvet Cheesecake Cake
- Why is my red velvet cake dry or crumbly? Overbaking can lead to a dry cake. Make sure to follow the recommended baking time and check for doneness using a toothpick. Also, be careful not to overmix the batter, as this can result in a crumbly texture.
- Why did my cheesecake crack on top? Cheesecakes can crack due to sudden temperature changes or overbaking. To prevent this, ensure the cheesecake bakes at a consistent temperature and avoid opening the oven door during baking.
- How do I prevent layers from sticking to the pan? Grease and line your cake and cheesecake pans with parchment paper to prevent sticking. You can also use non-stick pans or baking sprays designed for cakes.
- Why is my cream cheese frosting too runny? Cream cheese frosting can become runny if the cream cheese or butter is too soft or if too much liquid is added. Start with slightly chilled cream cheese and butter and gradually add powdered sugar to achieve the desired consistency.
- My layers are sliding or sinking. What went wrong? This can happen if the layers are not properly cooled before assembling or if the cheesecake layer hasn’t set fully before adding the cake layer. Ensure both layers are completely cooled before assembling.
- Why is my cake not rising properly? Proper leavening agents and correct mixing techniques are crucial for a well-risen cake. Check your baking powder or soda for freshness and make sure not to overmix the batter.
Remember that baking can sometimes involve trial and error. If you encounter issues, don’t be discouraged—each attempt brings valuable experience and knowledge for achieving the perfect Red Velvet Cheesecake Cake.
Happy baking!
